6 Tips for Containment System Training
Posted by Charlie JurneyJudging by the number of homes whose yards are decorated with white pet containment training flags these days, it seems that in-ground fencing has gone mainstream. It’s great that dog owners are taking responsibility for keeping their pets from wandering. While the basics of setting up and training a dog to respect the boundaries of a containment system are pretty simple, there are several points to keep in mind if you want your new fence to work as intended.
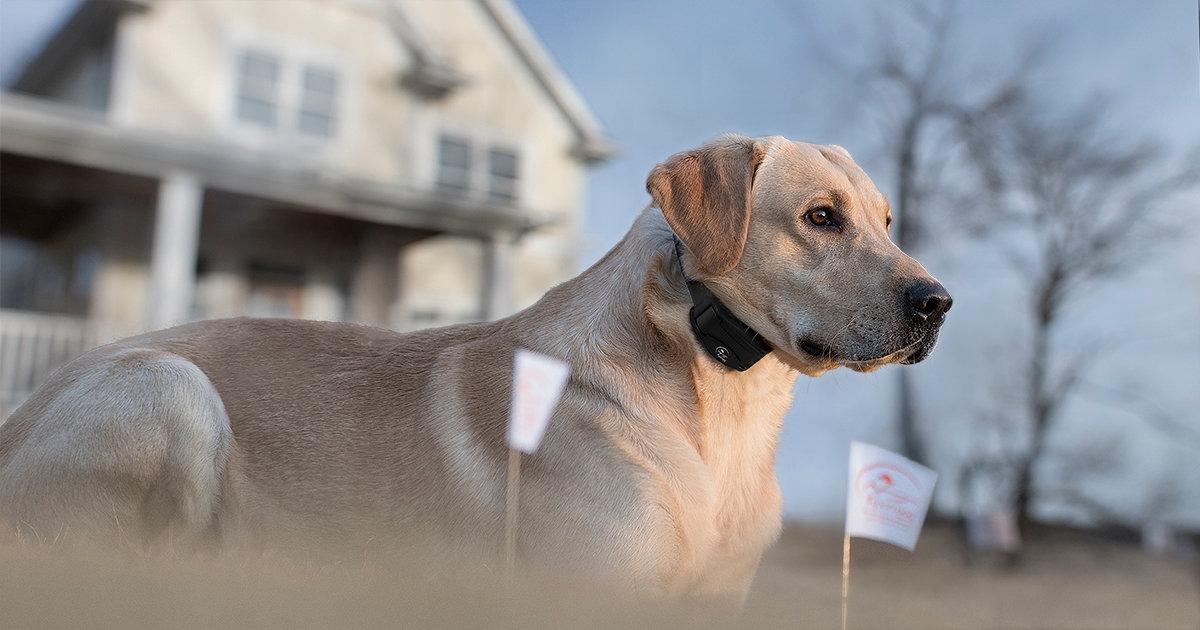
The SportDOG Brand containment systems all work in a similar fashion. When a dog is wearing the collar, if it approaches the perimeter (created by a buried wire) it receives a warning tone and vibration. If the dog continues toward the perimeter, it receives a static correction as a reminder to stay in the yard.
Installing a system yourself or having it installed by a professional is the easy part. What does take some time and thought is training your dog to respect the boundary as opposed to being fearful of it. So, Step One is to READ THE MANUAL. And then read it again. Then, remember these points to reach the goal of a well-trained dog that understands that its own yard is a safe place.
1. Do NOT take shortcuts.
I cannot emphasize this enough. You shouldn’t install the system, put the collar on your dog and turn it loose in the yard to learn the hard way. That’s why all systems come with boundary flags. You start by outlining the perimeter with the flags so your dog has a visual. Now it has a point of reference when it receives a correction, which could be in the form of a tug on the leash when you’re training, or from the collar stimulus. Move away from the flags, safe. Move toward the flags, correction. It’s simple, but it takes repetitive encounters with the flags to help your dog understand.
2. Help your dog like its e-collar.
The early stages of boundary flag training are done with a leash. Even though you haven’t introduced e-collar correction yet, it’s important to get your dog to associate the e-collar with going outside. Every time you let your dog out, have your dog wear the collar, even if it’s not powered up. For a dog, going outside is fun, and if wearing a collar means it’s time to go outside, then your dog will associate the collar with fun.
3. Leash training in the early stages is super important.
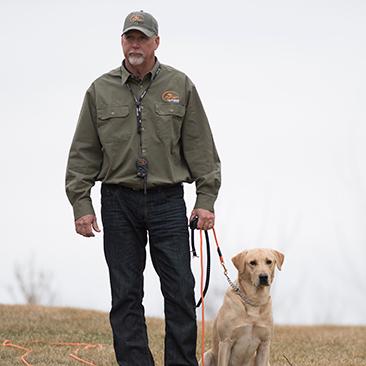
An e-collar doesn’t automatically control your dog, so as you continue introducing your dog to the boundary flags, you must have control via a leash. One example of why this is important: Let’s says you have the e-collar turned on, and your dog approaches the boundary and gets the first e-collar correction it has ever experienced. Its first response might be to bolt out of the yard, not back toward you. If that happens, now you’ll have a new problem to fix. You don’t want your dog to learn that it can bolt through the perimeter to turn off the correction. You want it to learn that the only safe place is in its own yard, so until your dog understands the program, keep that leash in hand.
4. Go light on the e-collar corrections during training.
As you walk your dog around the perimeter to teach it why the flags are there, it’s necessary for it to receive an e-collar correction now and then. That’s how it learns to respect the boundary. But don’t overdo it. Again, use the leash. Don’t let your dog walk up to every flag and receive a bunch of corrections one after the other. If you do, you might end up with a dog that doesn’t want to leave your side. Or worse, it might be afraid to leave the house. I use what I call a “min/max” rule during this stage of training. In any given session, I use a minimum of three e-collar corrections so the dog understand the message. My maximum number of corrections is five. More than five can result in creating hot spots (areas where your dog will never want to go) or panic and stress that causes resistance to the training message you’re trying to teach.
5. Don’t be in hurry to remove the flags.
Some dogs are quicker to associate the flags with the boundary than others. There’s no harm in keeping that visual reference out there for them. When your dog is demonstrating its understanding that the yard is the safe place to be, you can start removing the flags. I suggest removing about one-third of them. If you continue to work with your dog once or twice every day, a week later you can remove another one-third of them if things are going well. And if you keep working with your dog consistently, it won’t be too much longer before you can remove the remaining flags.
6. Do NOT use the containment system as a babysitter.
Every dog on the planet, if motivated, will at some point try to run through the fence. A good rule is that you need to have eyes on your dog at all times. You might be in the house and your dog is out in back, but you still need to watch it. Don’t think you can put your dog in the yard and then head out to the grocery store and your dog will always be at home when you get back. Related to that thought, remember that even though a containment system keeps your dog in, it does nothing at all to keep other dogs out. So, pay attention.
For as technologically advanced as today’s containment systems are, the training concepts that make them effective are very simple. Investing some time upfront to properly introduce your dog to its new fence will pay off with peace of mind later on when you know your dog is content to stay safe at home.

Charlie Jurney
Piedmont, NC
Charlie Jurney has been training performance and hunting dogs for more than 30 years. During that time he has produced hundreds of titled dogs including Grand Hunting Retriever Champions, Hunting Retriever Champions, Master Hunters, Grand Master Hunting Retriever Champions, and Master Hunting Retrievers. His writings have been featured in The...
Related Products


